
Diamond Pleated Pillow
Tags: decor, pillows, projects, sewing
So excited about this project! I’ve been transforming our ugly back deck into a french-style oasis for the past few months. It’s been a chore, but I’m finally making some progress. We found this great bench at World Market, but with the hard wooden back and deep seat, we needed a lot of pillows!
I couldn’t find any anywhere that I liked, but I did find some amazing upholstery fabric remnants at Hancock’s Fabrics (at $5 a yard!). So I decided to MAKE all the outdoor pillows. :)
This is going to be a series, but here’s the first – and most complex (though it’s really easy!) of them all.
The final product…

How it’s done…
First, decide what size pillow you want to make. This one was 12″ x 16.” Take your original pillow measurements and add 1.25″ to measurements (so 12″ x 16″ becomes 13.25″ x 17.25″).
Next, Decide how many diamonds you want and add two inches per pleat to the longest side of the fabric. For my 12″ x 16″ pillow I did six pleats (five diamonds across the middle), so my final fabric measurements for the front piece were 13.25″ x 29.25.”
Get out your t-square (or a book/sheet of paper and a yard stick) and trace your measurements for the front piece onto the fabric and cut.
Next, iron a pleat every two inches starting from the middle of your fabric if you have an odd number of pleats or on either side of the middle for an even number (one inch on either side of the middle point). Like so…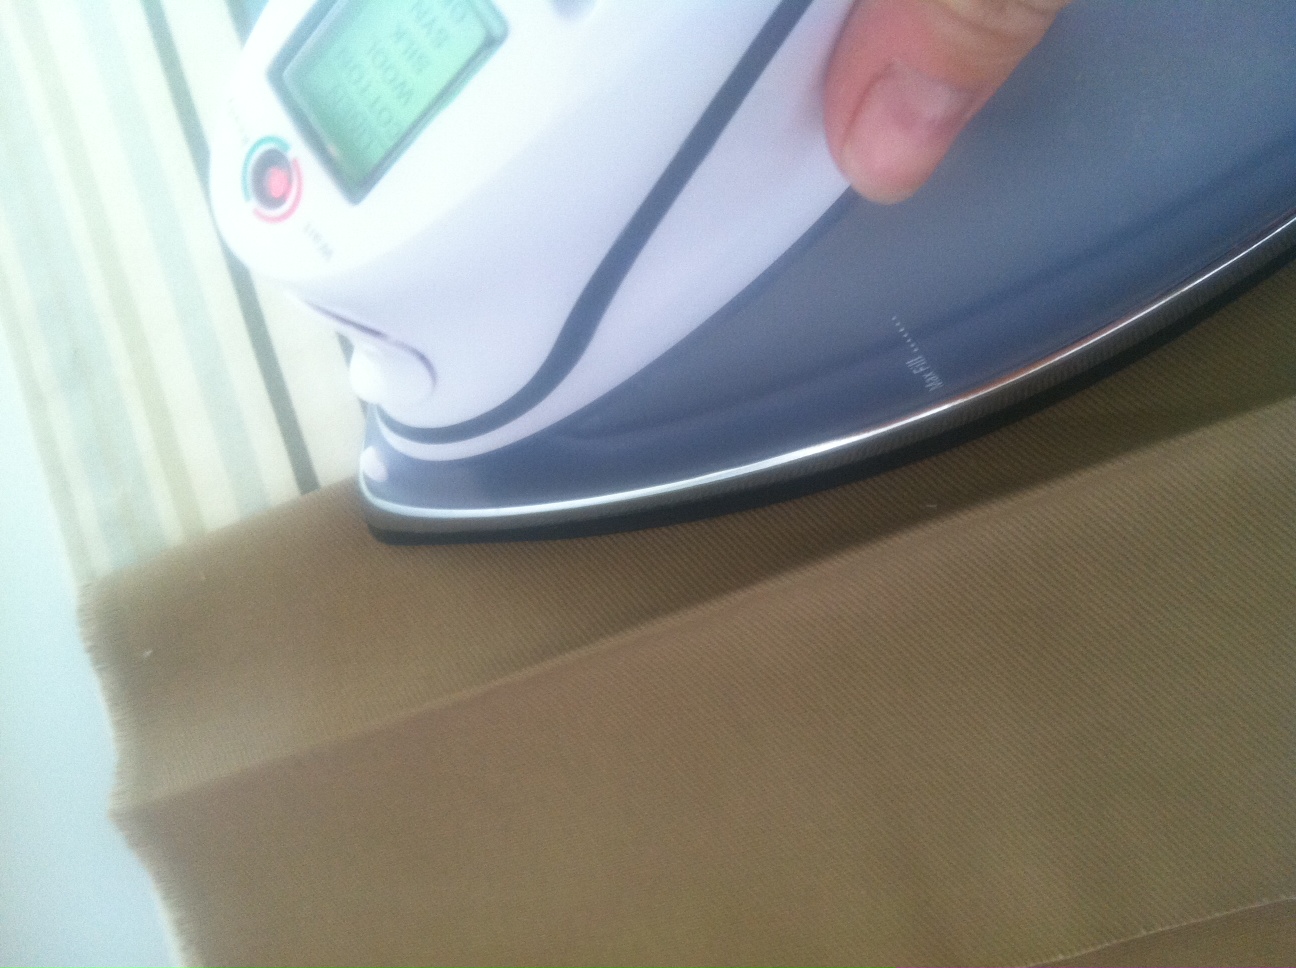
Until you get this…
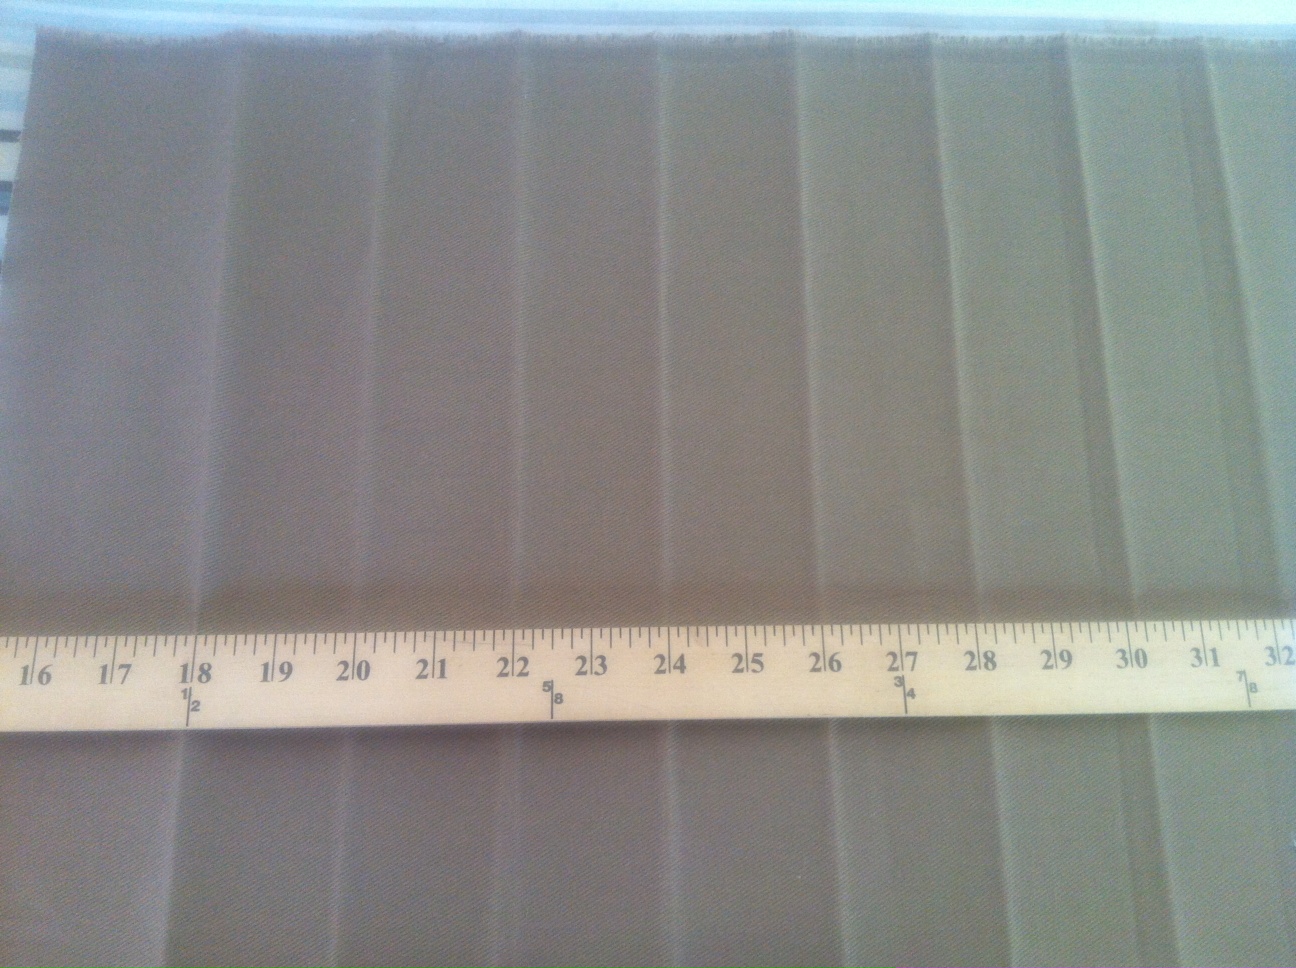
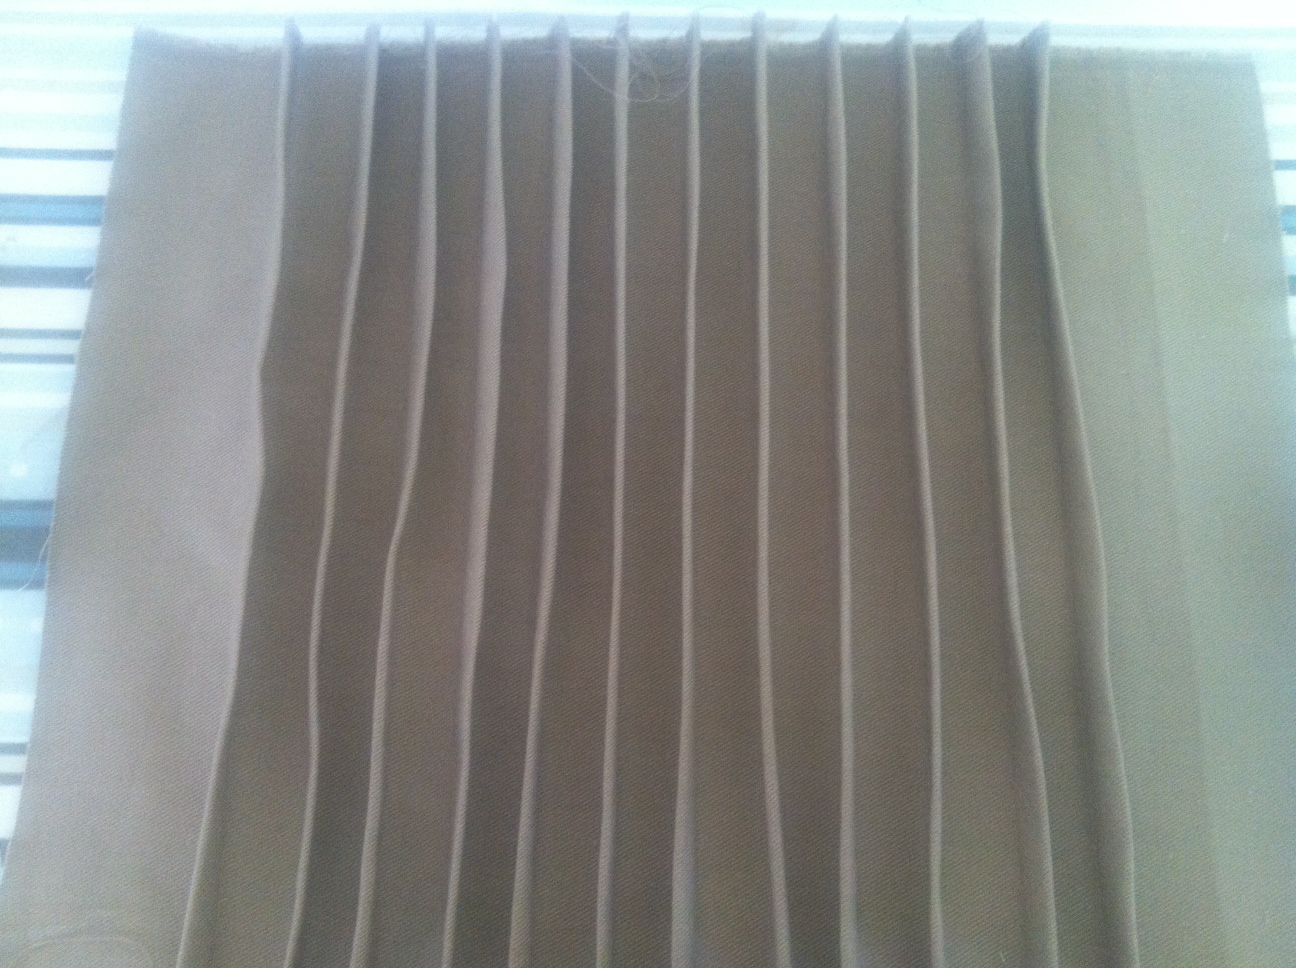
Next, sew 1/2″ in on each fold.
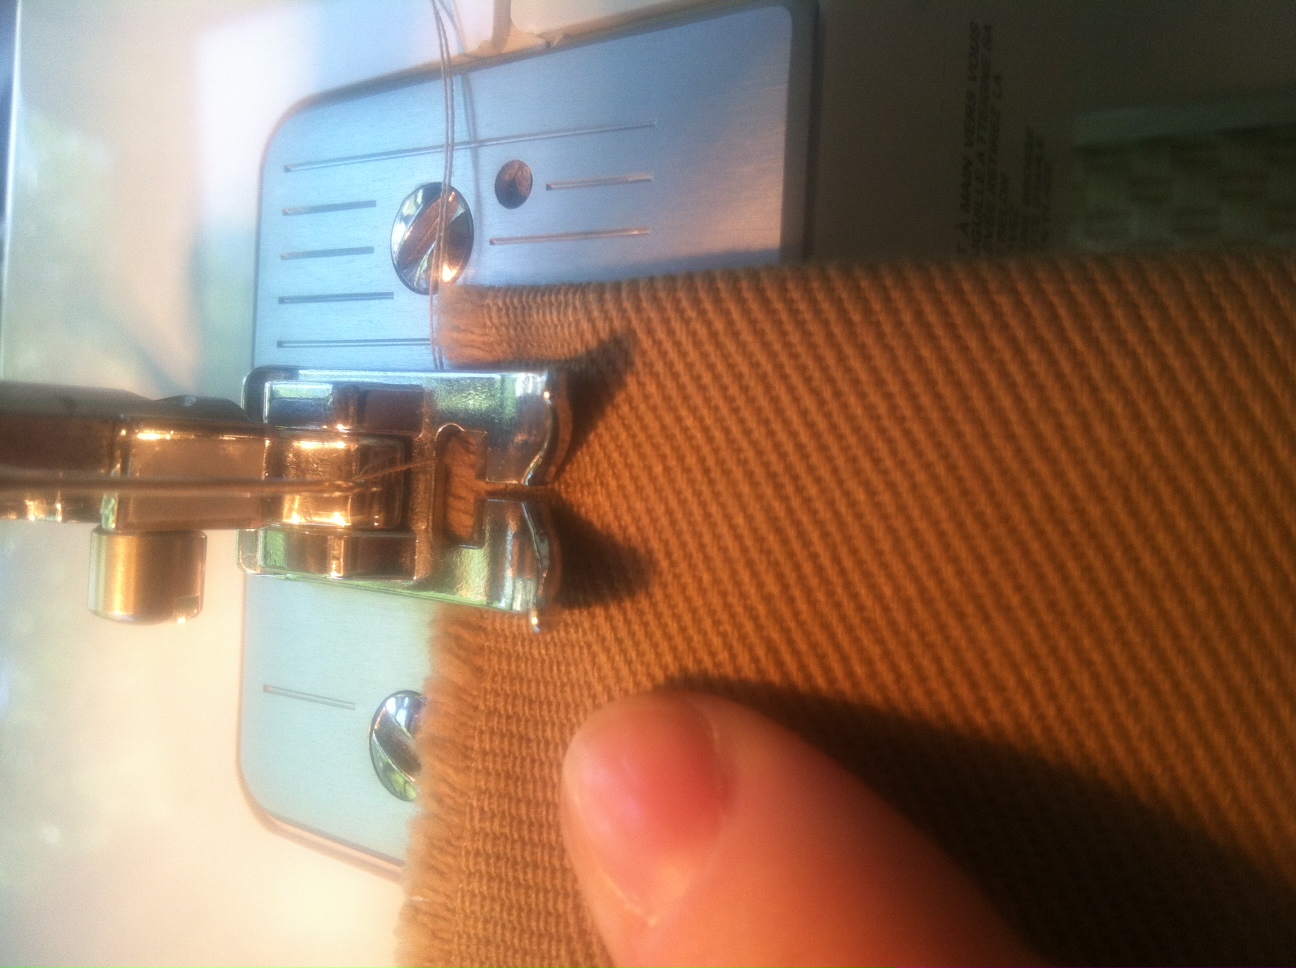
At this point, you should have something like this…
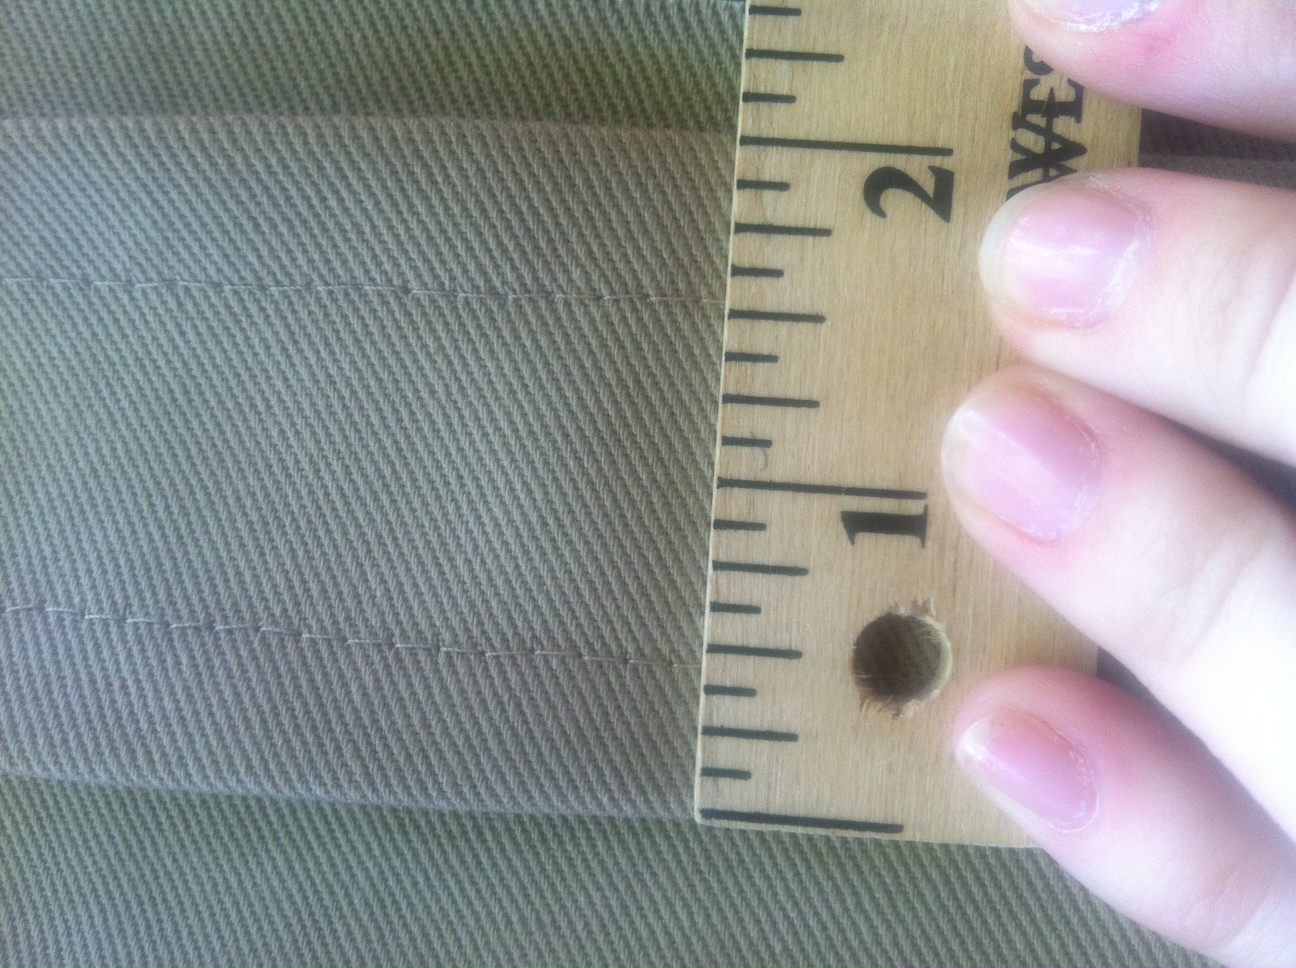
And now we’re ready to do some hand sewing. Get out your needle and thread and pull two pleats together at the center, sewing a button to join each. I had originally wanted cute little wooden buttons, but found these small plastic ones in a pack of 100 for 99 cents at Jo-Ann Fabrics, so…


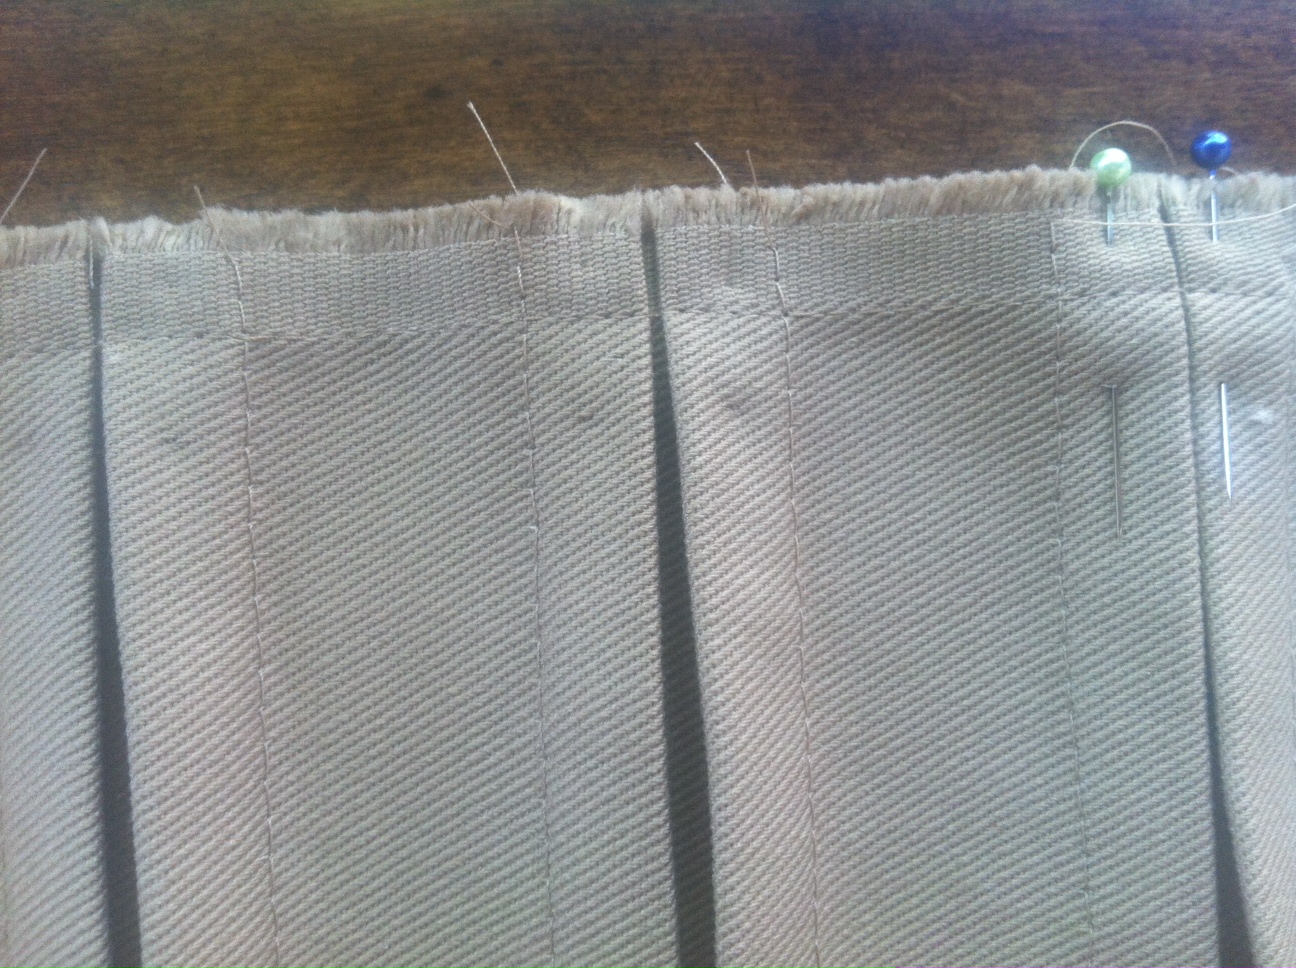
When you have one row done, lay the ends flat, pinning the pleats in toward each other and stitch 1/2″ to hold pleats down at top and bottom.
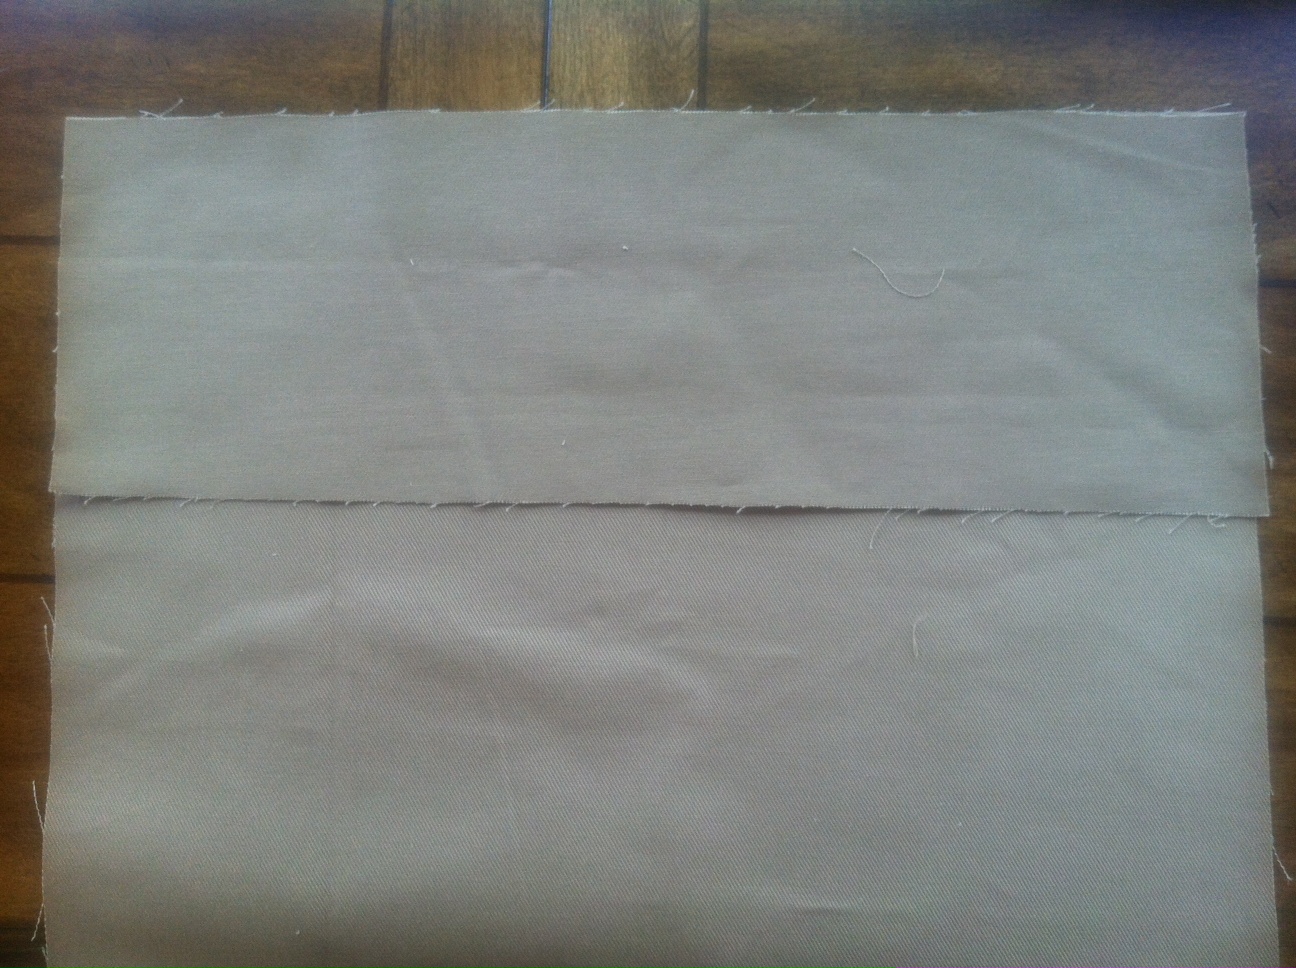
Next measure and cut a piece of fabric two inches taller than your final fabric measurements before adding pleats (in my case, 13.25″ x 19.25). Decide where you want your back zipper and cut this piece of fabric at that spot.
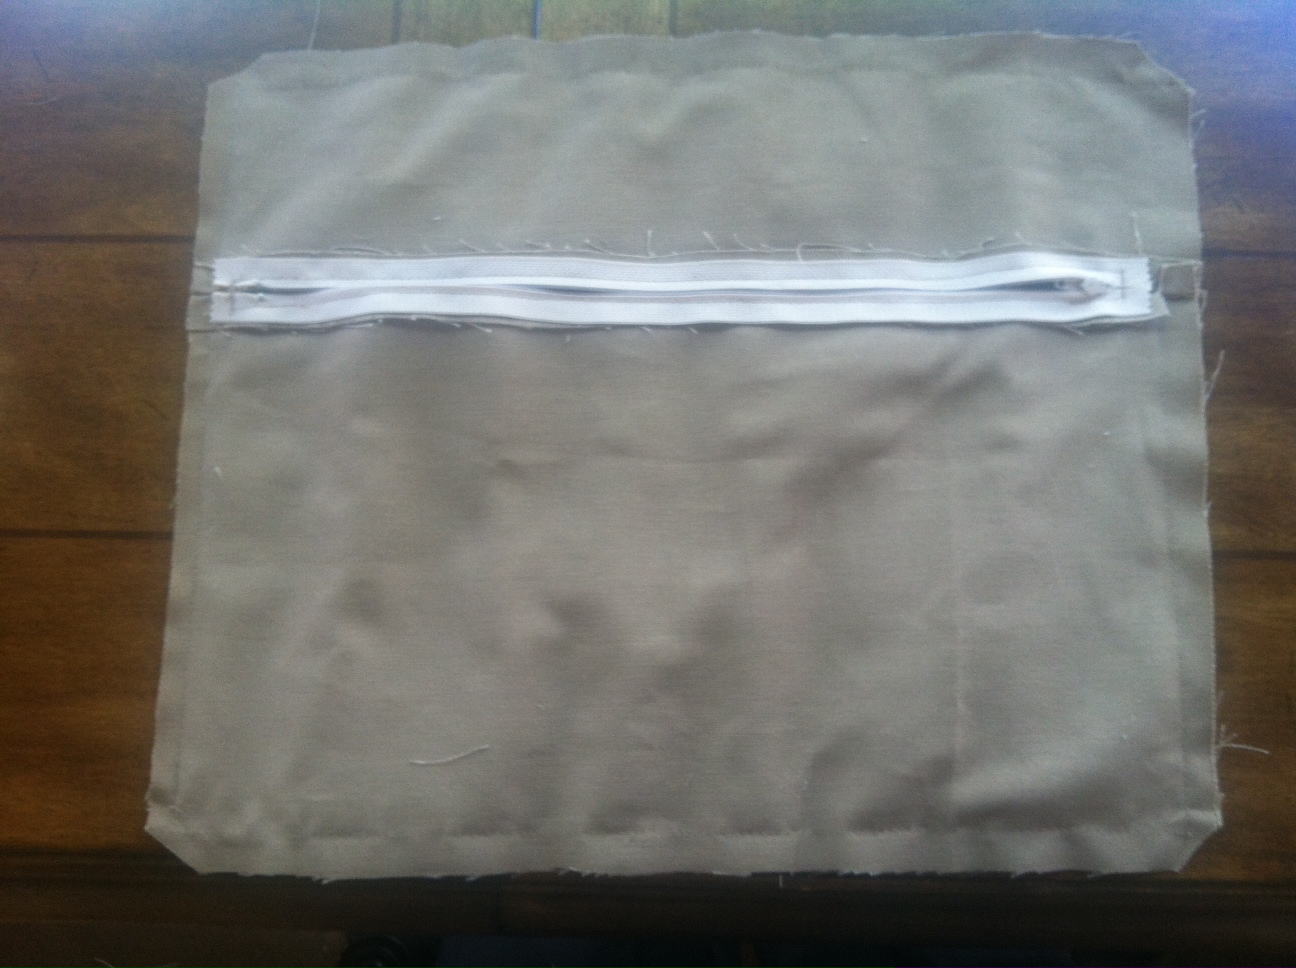
Sew zipper according to package directions. It should look something like this when you’re done…
Pin right sides of front and back together and sew all the way around.

Add a second and third row of buttons (or more if you’re doing a larger pillow) alternating pulled pleats. And your final result should look like this…


